Participants can join meetings, both scheduled and ad-hoc, from the nVX Meetings page.
Step 1
Navigate to the Meetings page of nVX by selecting the calendar icon, , from the left navigation panel.
Step 2
Join the nVX meeting by:
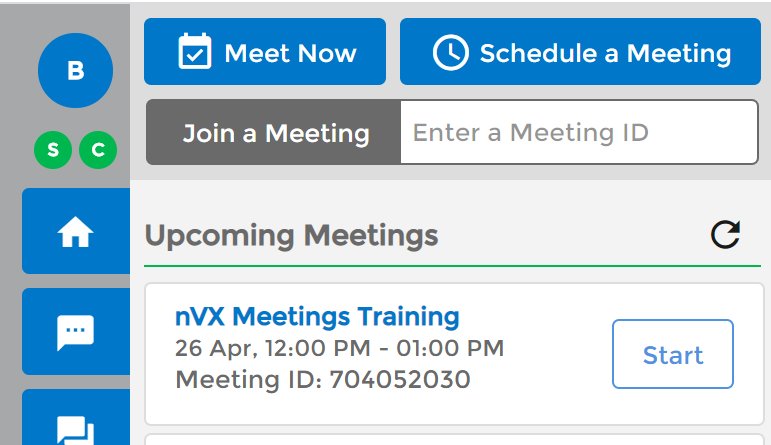
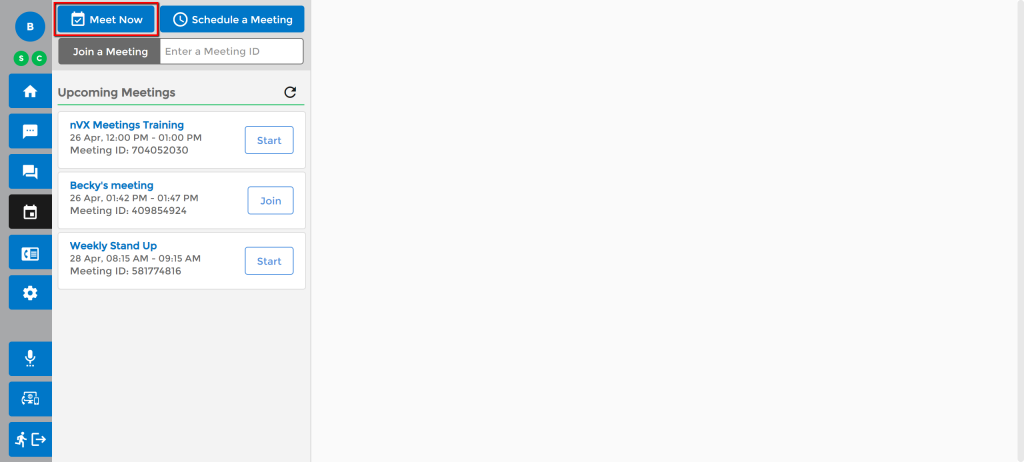
Selecting Join from the Upcoming Meetings List If joining a scheduled meeting, participants will be able to join from the list of Upcoming Meetings. Simply click the Join button, , from the list of available meetings.
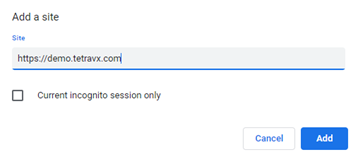
Copy and Pasting the nVX Meeting ID Enter an nVX Meeting ID in the Join a Meeting field. After the Meeting ID has been entered, the Join a Meeting button will highlight blue. Click the button to open the conference bridge in a new tab of your web browser.
Step 3
Meeting participants will be redirected to the new webpage where the conference bridge will be opened. Upon opening the conference bridge, the host will be asked to select an audio option:
Phone: Use an external device to dial-in to the conference bridge
If Phone is selected, dial-in incormation including dial-in country name, dial-in phone number, Meeting ID, and participant number will be provided. If multiple countries are available for your organization, the dial-in country can be changed, automatically adjusting the dial-in phone number.
Internet Audio: Use internet audio to connect to the conference bridge
Users can start meetings on-demand for unplanned or ad-hoc meetings. With Meet Now meetings, hosts can start a meeting immediately and invite participants to join via different communication channels.
Step 1
To initiate a Meet Now meeting, navigate to the Meetings page of nVX by selecting the calendar icon, , from the left navigation panel.
Step 2
Click the Meet Now button.
Step 3
Hosts will be redirected to the new webpage where the conference bridge will be opened. Upon opening the conference bridge, the host will be asked to select an audio option:
Phone: Use an external device to dial-in to the conference bridge
If Phone is selected, dial-in incormation including dial-in country name, dial-in phone number, Meeting ID, and participant number will be provided. If multiple countries are available for your organization, the dial-in country can be changed, automatically adjusting the dial-in phone number.
Internet Audio: Use internet audio to connect to the conference bridge
Step 4
To invite participants, click on the Invite button on right top corner of the meeting webpage. Participants can be invited via email, phone, or SMS message. Meeting information can also be copy and pasted into other communication channels.
Copy and Paste Meeting Info
If you would like to share meeting information outside of nVX, you can copy and paste meeting information by selecting the Meet Info button, , at the top of the Invite window. To easily copy meeting information, select the copy button, , from the Meeting Info.
Invite via Email
To invite participants via email, select the Email button, , at the top of the Invite window. Enter the email addresses of Required and Optional participants.
Adding Participants, Company Directory: Start typing the name or email of the participants you would like to invite and the system will suggest the best match from your company directory. Select the contact from the populated list.
Adding Participants, Non Company Directory: If the participant is not available in your company directory, type the complete email address of the desired participated and hit the Tab key.
Removing Email Addresses: Click on red cancel button to remove contacts from the participants list
To trigger the email invite, click the Invite button, , at the bottom of the Invite window to send the email to all participants. User will receive a confirmation popup “Email Invites Successful” to confirm email invitations were sent successfully.
Invite Experience: Invitees will receive an email invitation with the meeting details including meeting date, meeting time, meeting duration, and the URL to join the meeting.
Invite via Phone
To invite participants via phone, select the Phone button, , at the top of the Invite window. Enter the 10-digit phone number or extension of desired participants.
Adding Participants, Company Directory: Start typing the name or extension of the participants you would like to invite and the system will suggest the best match from your company directory. Select the contact from the populated list.
Adding Participants, Non Company Directory: If the participant is not available in your company directory, type the complete phone number of the desired participated and hit the Tab key.
Removing Phone Numbers: Click on red cancel button to remove contacts from the participants list
To trigger the phone invitation, click the Invite button, , at the bottom of the Invite window to trigger a call to invitees. Users will receive a confirmation popup “Phones Invites Successful” to confirm phone invitations were sent successfully.
Invite Experience: Invitees will receive the incoming call with the prompt, “You are invited to the TetraVX meeting, please press 1 to join the meeting”. Invitees will be entered to the meeting after pressing 1.
Invite via SMS
To invite participants via SMS, select the SMS button, , at the top of the Invite window. Enter the 10-digit phone number of each desired participant. Seperate each 10-digit phone number with a comma.
If desired, edit the SMS message that will be sent to the invitees. Click the Invite button, , to trigger the SMS message to invitees. Users will receive a confirmation popup “SMS Invites Successful” to confirm phone invitations were sent successfully.
Note: When editing the SMS message, be sure to keep the invite URL in the SMS message as is. Editing or removing the invite URL will result in errors for invitees.
Scheduling a Meeting allows users to invite participants to a future video or audio conference bridge.
Step 1
Navigate to the Meetings page of nVX by selecting the calendar icon from the left navigation panel.
Step 2
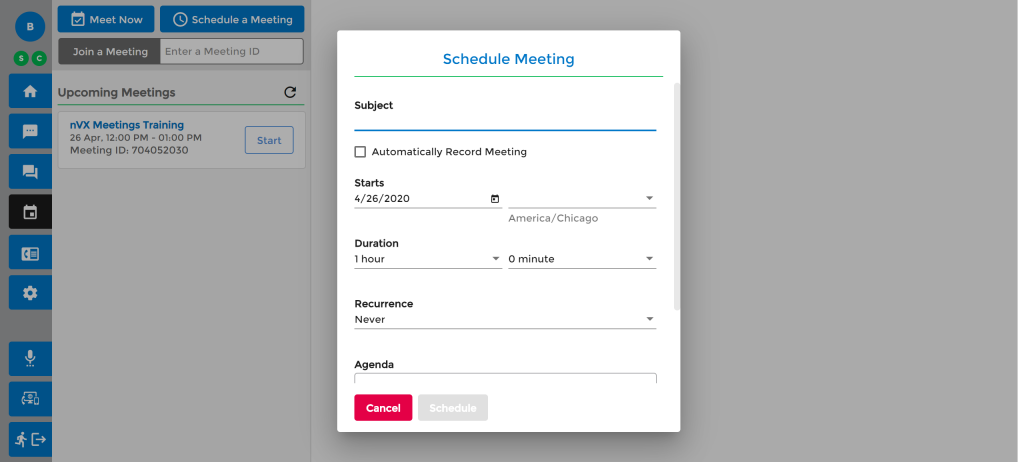
Select the ‘Schedule a Meeting’ button from the nVX Meetings page.
Step 3
Complete the meeting details to schedule the meeting. Meeting details include:
Subject: Enter meeting subject, this is the meeting title that will appear in your calendar and to guests
Automatically Record Meeting:
If enabled, the meeting recording will start automatically when the meeting begins
If disabled, the meeting will not be recorded
Starts:
Enter the date of the meeting by either typing the date of the meeting or selecting from the calendar view
Select the time the meeting will begin from the dropdown
Duration: Enter duration by selecting the hours and minutes from the available dropdowns
Recurrence: Select how often you want the meeting to occur from the available dropdown. Options include:
Never
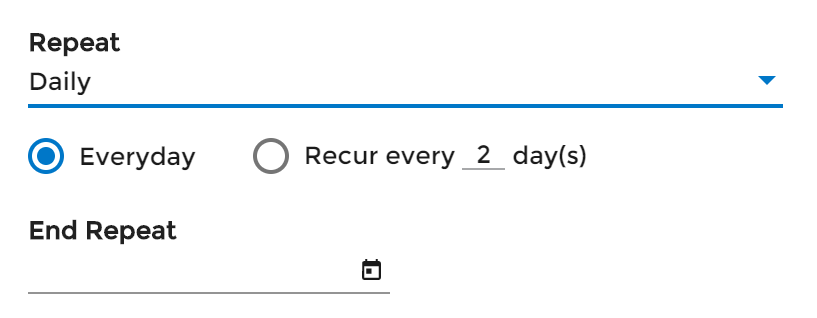
Daily:
Everyday: Select Everyday if the meeting is going to be held daily at fixed time and duration.
Recur every_day(s): Enter the number of fixed days between your reocurring meetings. Users will be allowed to enter 1-30 day(s).
End Repeat: Enter the date when the reocuring meetings should end.
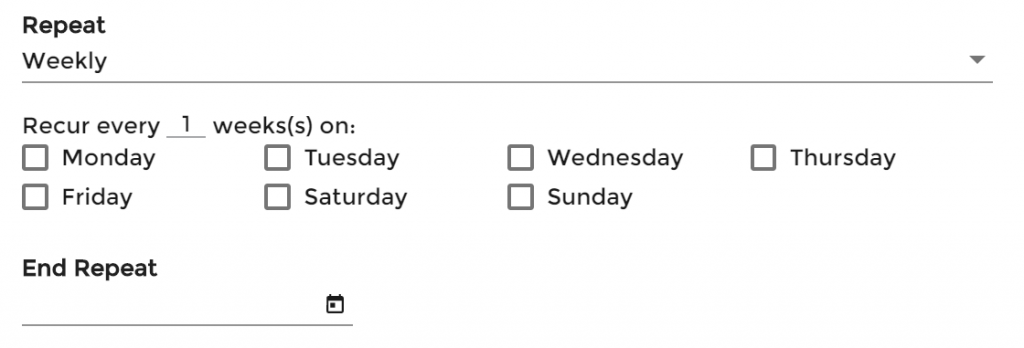
Weekly:
Recur every_weeks(s): Enter the number of fixed weeks between your reocurring meetings.
Select the day of the week the reocurring meeting should occur on
End Repeat: Enter the date when the reocuring meetings should end.
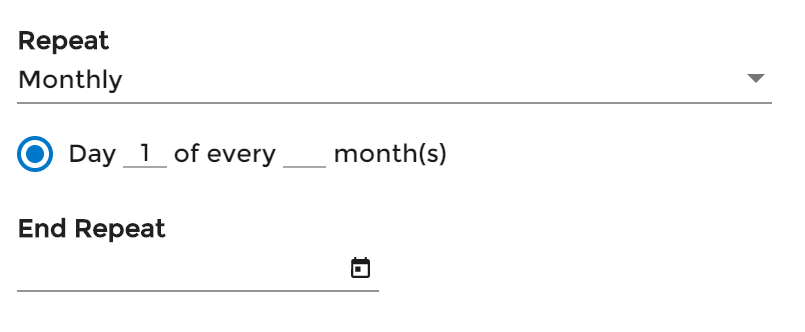
Monthly:
Day_of every_month(s): Users can enter 1-30 for which day of each month the meeting should occur on and monthly increments
End Repeat: Enter the date when the reocuring meetings should end.
Agenda: Enter the agenda or description for your meeting. The Agenda field allows you to include meeting details that will be sent to your meeting participants
Invite Contacts: Invite your meeting participants to the scheduled meeting by either typing their name or email address
If adding contacts from your Company Directory, available contacts will populate as you type. Select the contact from the populated list
If adding contacts from outside of your Company Directory, type the email address of the contact you’d like to add and click the Tab key
To remove a contact from your ‘Invite Contacts’ list, select the X , , icon next to the contacts name or email
Step 4
Select the Schedule, , button to schedule the meeting.
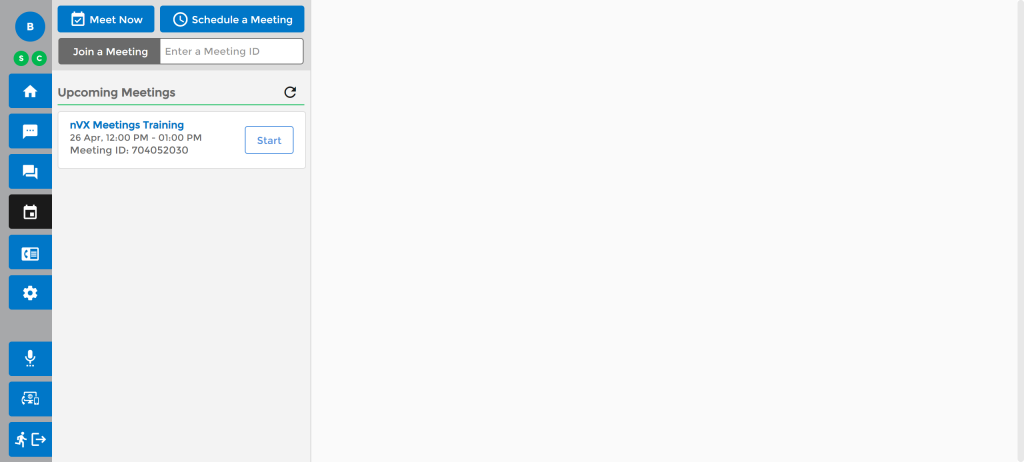
List of Upcoming Meetings
Users can see a list of all upcoming scheduled meetings under the Upcoming Meetings view. Available meetings will include details such as Meeting Subject, Date, Time, Duration, Meeting ID, and a Start or Join button.
Start: If the user is the host of the meeting, a Start button will appear
Join: If the user is a paricipant of the meeting, a Join button will appear
Editing and Deleting Scheduled Meetings
Step 1
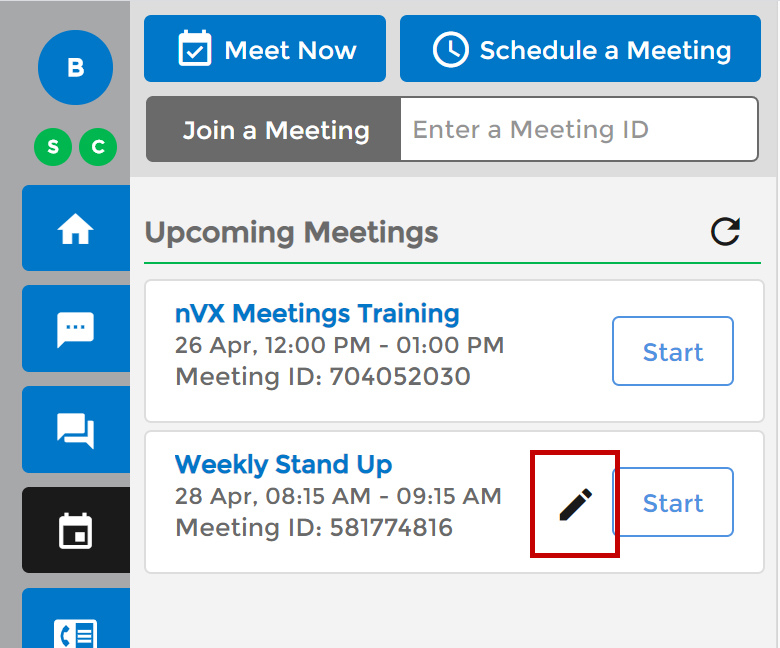
To edit or delete a scheduled meeting, hover over the upcoming meeting and select the edit icon from the list of Upcoming Meetings.
Step 2
The meeting details window will open, allowing users to edit the existing meeting information or delete the meeting from occuring.
nVX Meetings allow users to use all features of TetraVX conferencing solution.
To navigate to the nVX Meetings tool, select the calendar icon from the left navigation panel. Once selected, the user will be redirected to nVX Meeting page. Here, users can perform the following meeting actions:
Your voicemails will be listed in order of the date you received them, with the most recent voicemails being closest to the top. From this list of voicemails you can:
Listen to Voicemail: Click on the play button, to play the voicemail
Callback: Click on the phone icon, to call the number back
Delete: Click on the trash icon, to call the number back
Note: You can also dial into the voicemail system by clicking on the voicemail button in the number pad
Accessing Voicemail from your IP Phone
To access your voicemail from the IP Phone registered to your extension, simply dial *97.
Accessing Voicemail from any IP Phone
To access your voicemail from an IP Phone that is not registered to your extension:
Dial *98 and press send
Enter your extension and then press #
Enter your password and then press #
Advanced Voicemail Options for IP Phones
Press 5
To open advanced voicemail options
Press 1
RECORD A GREETING Step 1: Choose which greeting to record, 1-9 Step 2: Record your greeting Step 3: Press 1 to listen to your recording, Press 2 to save, Press 3 to re-record
Press 2
CHOOSE GREETING To choose your greeting, press 2 and select greeting 1-9.
Press 3
RECORD NAME Step 1: Record your name Step 2: Press 1 to listen to your recording, Press 2 to save, Press 3 to re-record
Press 6
CHANGE YOUR VOICEMAIL PASSWORD Step 1: Enter your new password Step 2: Wait to hear password confirmation. After confirmed, call will automatically end.
To logout of the nVX User Portal, click the logout icon at the bottom left of the navigation panel.
Note: When logged out of the nVX User Portal, users will no longer receive inbound calls to their nVX Websip phone. All phone calls will be sent directly to voicemail if another endpoint is not selected.
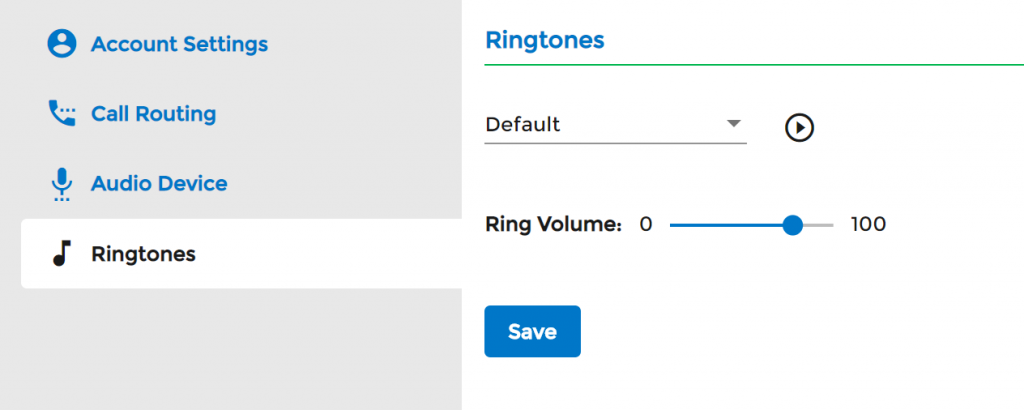
To view Ringtone Settings, first select the Settings tab on the left navigation. You will see four options. Select, Ringtones. This is where users can manage their ringtone and ring volume. Be sure to click the Save button at the bottom of the page after making any updates
Ringtone: In the dropdown, select the preferred ringtone. Press the play icon, to hear the tone before selecting it.
Ring Volume: Adjust the Ring Volume by sliding the blue dot.
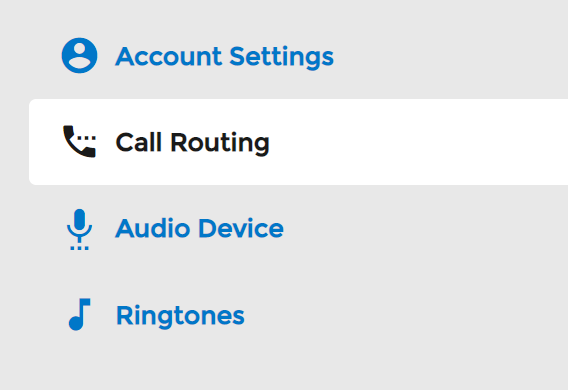
To view Call Routing Settings, first select the Settings tab on the left navigation. You will see four options. Select, Call Routing. This is where users can manage their call forwarding options.
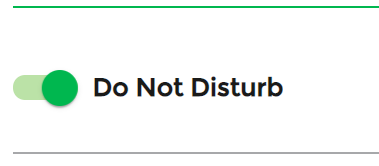
Do Not Disturb
Do Not Disturb allows you to send all calls immediately to voicemail. To toggle Do Not Disturb on, click on the slider icon. Green means the option is activated. Be sure to click the Save button at the bottom of the Call Routing page after updating
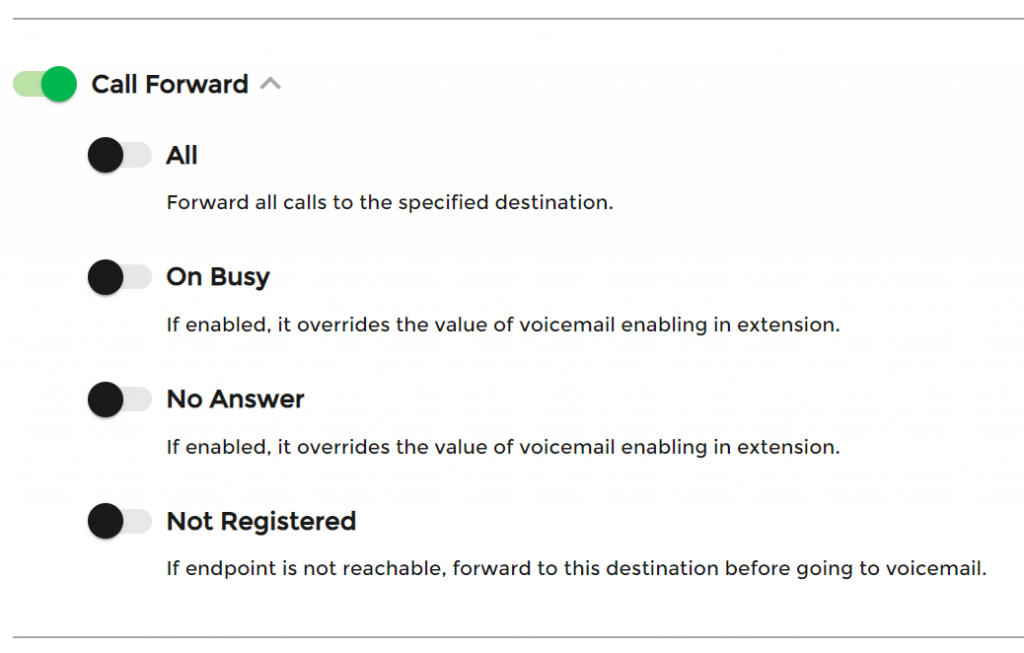
Call Forward
Call Forward allows users to forward calls from their selected devices to another device, extension, or 10-digit phone number. To toggle Call Forward on, click on the slider icon. Green means the option is activated. Once activated, users will be able to select from four different forwarding options:
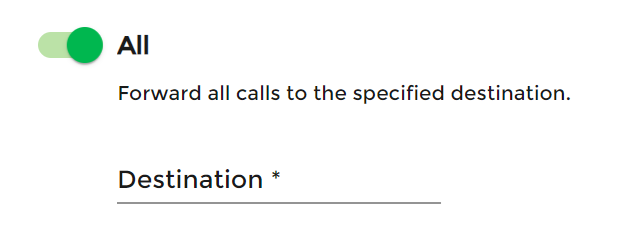
All: To forward all calls to a set destination. After toggling All to green, enter the destination you would like the calls routed to. Be sure to click the Save button at the bottom of the Call Routing page after updating
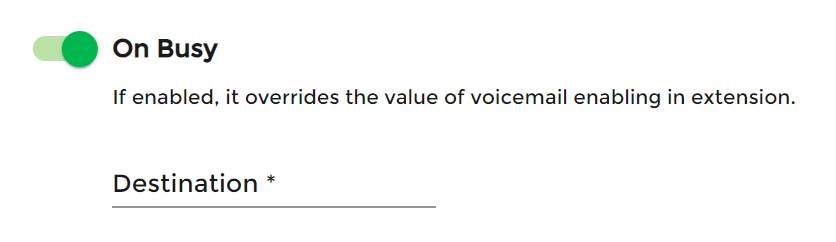
On Busy: To forward all calls to a set destination if the extension is busy, instead of sending it to voicemail. After toggling All to green, enter the destination you would like the calls routed to. Be sure to click the Save button at the bottom of the Call Routing page after updating
No Answer: To forward all calls to a set destination if the extension is not answered, instead of sending to voicemail. After toggling All to green, enter the destination you would like the calls routed to. Be sure to click the Save button at the bottom of the Call Routing page after updating
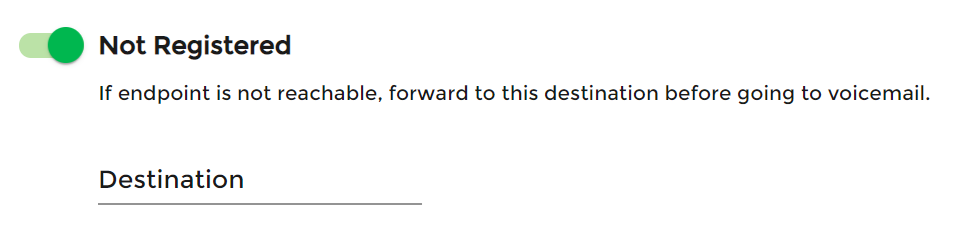
Not Registered: To forward all calls to a set destination if the extension is not registered, instead of sending to voicemail. After toggling All to green, enter the destination you would like the calls routed to. Be sure to click the Save button at the bottom of the Call Routing page after updating
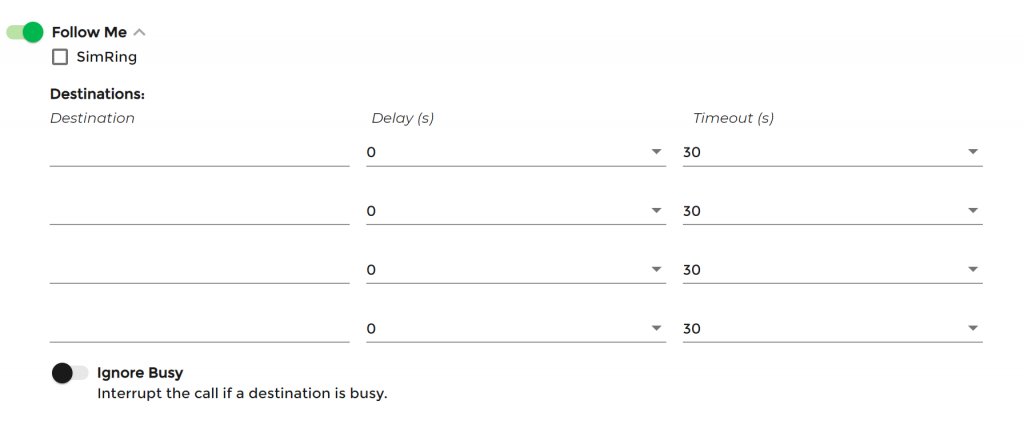
Follow Me
The Follow Me setting allows users to receive calls at up to four designated phones, whether ringing all at once, or in sequential order. Be sure to click Save at the bottom of the Call Routing page after updating.
SimRing: Check the SimRing box to automatically enter the user’s extension as one of the destinations
Destinations: Enter any other destinations on the remaining available lines
Delay: Select from the Delay dropdown to set how long (in seconds) a call should be delayed before the destination begins ringing
Timeout: Select from the Timeout dropdown to set the number of seconds the destination will ring before it moves to the next destination
Ignore Busy: Click the Ignore Busy toggle to allow a call to be interrupted if the extension is busy on another incoming call
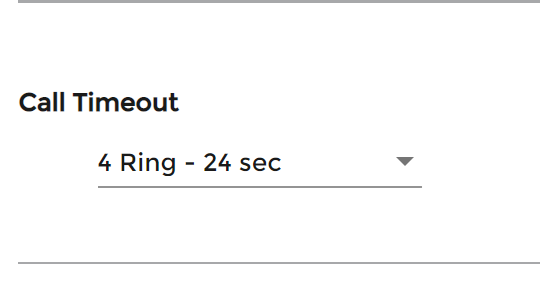
Call Timeout
Call Timeout determines how many rings the extension will ring before it reaches Voicemail (set as default) or the set destinations in Call Forward. To change Call Timeout, select from the available settings in the dropdown. Be sure to click Save at the bottom of the Call Routing page after updating


 If the Focus Assist is disabled, it will be grayed out.
 If the Focus Assist is enabled it may read as Priority Only or Alarms Only.