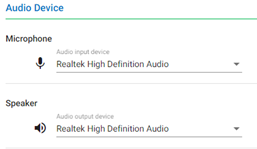
To view Audio Device Settings, first select the Settings tab on the left navigation. You will see four options. Select, Audio Device Settings. This is where users can change the devices used for the nVX webphone.
Selecting Your Device
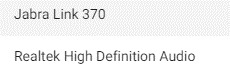
Microphone: In the dropdown, choose the microphone you’d like to use from the list of detected microphones.
Speaker: In the dropdown, choose the speaker you’d like to use from the list of detected speakers.
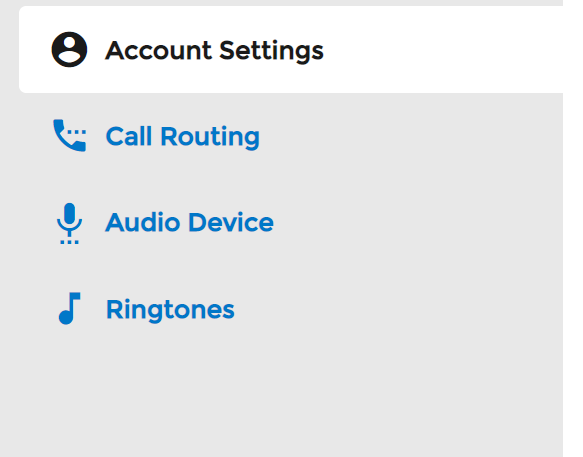
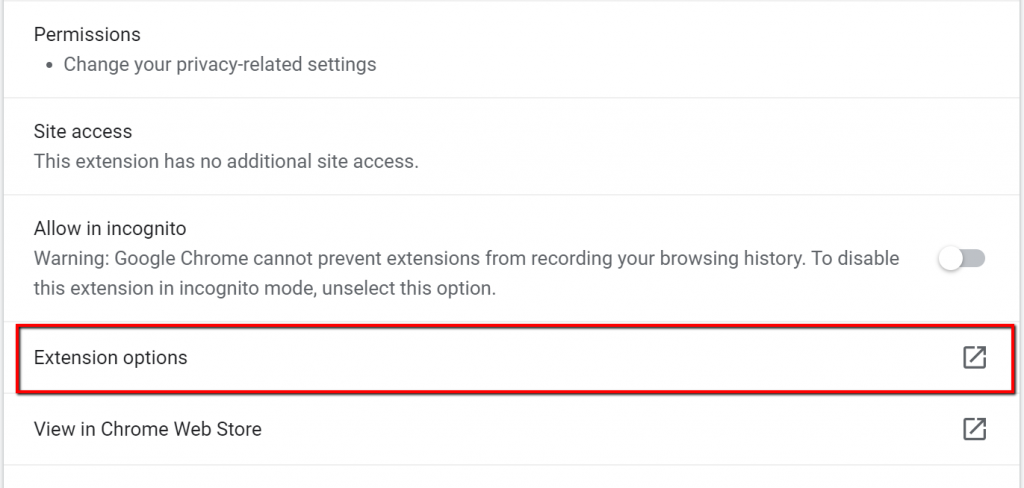
To view Account Settings, first select the Settings tab on the left navigation. You will see four options. Select, Account Settings. This is where users can update your password, change your voicemail pin, and update your profile image.
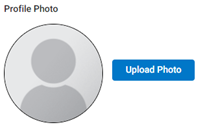
Update Profile Photo
To upload or change the user Profile Photo, click on the existing Upload Photo button and upload your locally save image.
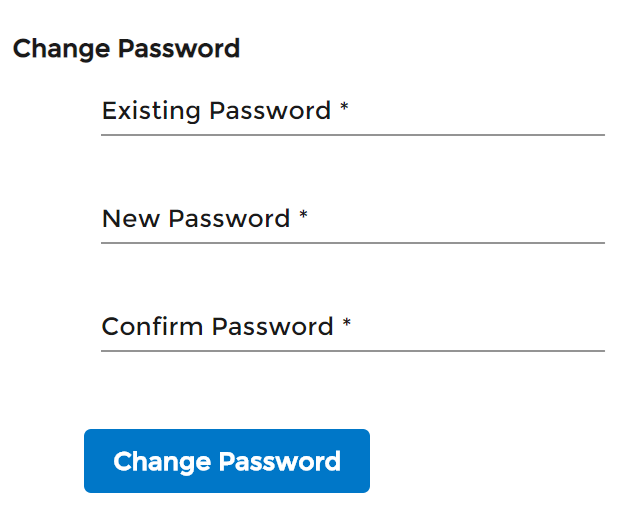
Change Password
To change the current user portal password, enter the existing password and then enter the new one twice and press the Change Password button.
Note: Users can only update their password if it is configured locally and not through LDAP
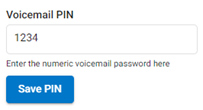
Change Voicemail Pin
To change the voicemail PIN, enter the new PIN and press the Save PIN button.
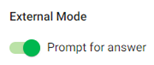
External Mode – Prompt Setting
Select this option if you are utilizing the external mode and would like the call to be answered with a prompt in order to avoid calls routing to the external number’s voicemail. Once you answer the call, you will have to press 1 to connect the call.
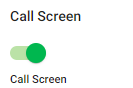
Call Screen
Select this option in order to screen inbound calls. Inbound callers will have to announce themselves. You will then receive a call playing their name and you have the option to take the call or send to voicemail.
The Contact Directory is a shared list of your organization’s contacts. Contact information includes:
First Name
Last Name
Extension
10-Digit Phone Number
Email Address
Access Your Contacts
To access your organization’s Contacts, navigate to the home screen of the User Portal by selecting the Home icon at the top left of the navigation panel. Your Contacts will be listed alphanumerically on the Calls tab of the home screen.
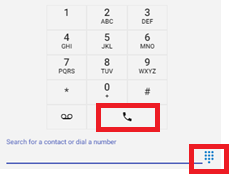
Contact Search
To search for a contact, enter a name, extension, or 10-digit phone number in the search bar. Results will update real-time as the information is entered. Click the X icon to clear your search.
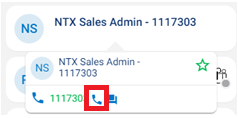
Place a Call Using the Contact Card
To place a call from the contact card, click the blue phone icon to the right of the contact details. By clicking the blue phone icon, you will automatically place a call using your designated Endpoint.
Set Your Favorites
Mark your frequently usedcontacts as favorites by clicking the star icon.
An Endpoint is a device that is used as a communication channel for a user to make calls, receive calls, and use telephony features.
Selecting an Endpoint
Step 1: Select the Additional Settings icon in the bottom left of portal to open a pop-up.
Step 2: The middle option is the current endpoint selected. Click on the option to choose a different endpoint.
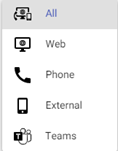
The available endpoints include:
All: Will ring all endpoints where the extension is registered.
Web: Will ring only the phone located in your web-based nVX User Portal
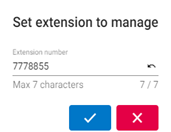
Phone: Will ring only the desk phone(s) where the extension is registered. When choosing Phone, a pop-up will appear to set the extension. Click on the checkbox to confirm.
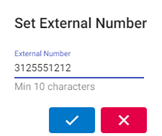
External: Will ring an external number, such as your mobile phone. This setting can also be used for Ring Groups or Queues. When choosing External, a pop-up will appear to set the external number. Click on the checkbox to confirm.
Emergency Services are not supported within the User Portal. Users will not be able to dial 911 from the User Portal. Users are required to use an IP phone when dialing 911.
Call Detail Records (CDRs) show information on individual calls. To view your Call Detail Records, click the Call Detail Records menu icon, on the left panel of the dashboard. Records can be filtered and sorted.
Available Call Details
Each record contains the following details:
Type – Direction of call and endpoint used.
From – Originating calling number with caller ID or user information
To – Called party extension or number.
From Time – Date and time the call originated
To Time – Date and time the call ended
Duration – Length of call
Exit Reason – Termination code of call
Recording – To play, download or delete the recording. (if enabled)
Call Back option – Click on the three vertical dots to have the remote end number appear and then click on the pop-up to click to dial from here.
Note: The list of records can be sorted (ascending or descending) by any of the fields noted above
Filtering Records
Click on the Expansion arrow next to Filters.
Records can be filtered by:
Call Type – Select Inbound, Outbound or Local
From Name – Enter the originating caller information as displayed on the Caller ID (CID) or the user’s name, if internal call.
From Number – Enter the originating phone number or extension of the call
To Number – Enter the called number or extension.
From Time – Enter the beginning date of the filter to be applied. (The calendar icon can be used to select the date)
To Time – Enter the end date of the filter to be applied. (The calendar icon can be used to select the date)
Exit Reason – Select the exit reason to be applied, such as Abandoned, Allotted Timeout, Attended Transfer, Blind Transfer, Call Rejected or Chan Not Implemented.
Note: Number searches support the use of an asterisk (*) as a wildcard character; meaning, any character or sequence of characters in a search
 You will see four options. Select, Audio Device Settings. This is where users can change the devices used for the nVX webphone.
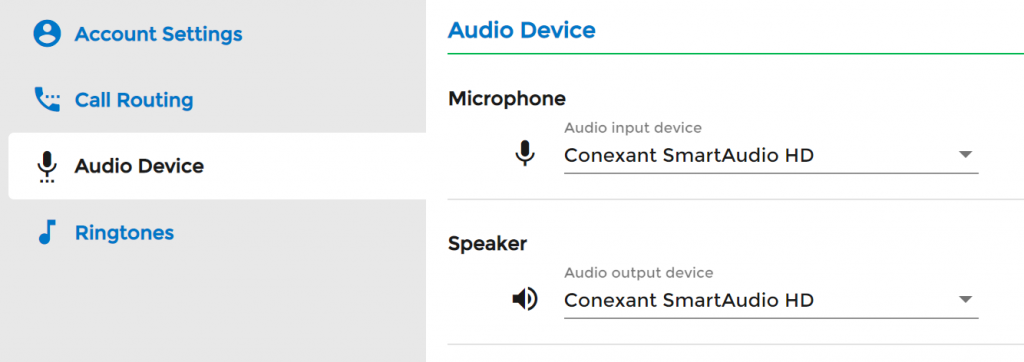


 on the left panel of the dashboard. Records can be filtered and sorted.