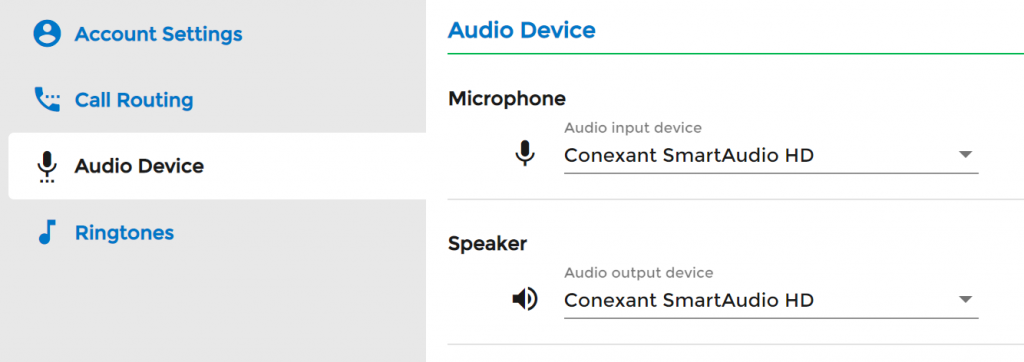
To view Audio Device Settings, first select the Settings tab on the left navigation. You will see four options. Select, Audio Device Settings. This is where users can change the devices used for the nVX webphone.
Selecting Your Device
Microphone: In the dropdown, choose the microphone you’d like to use from the list of detected microphones.
Speaker: In the dropdown, choose the speaker you’d like to use from the list of detected speakers.
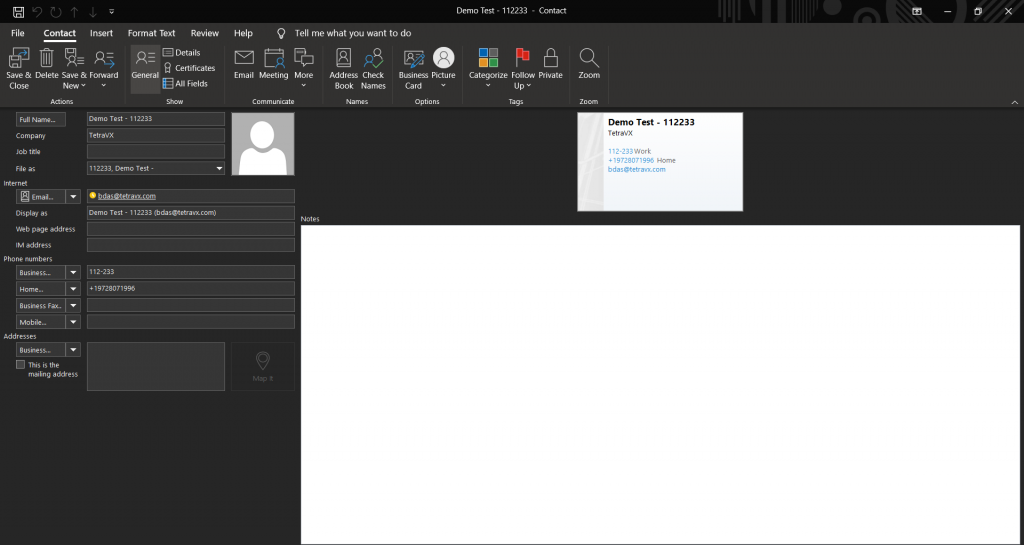
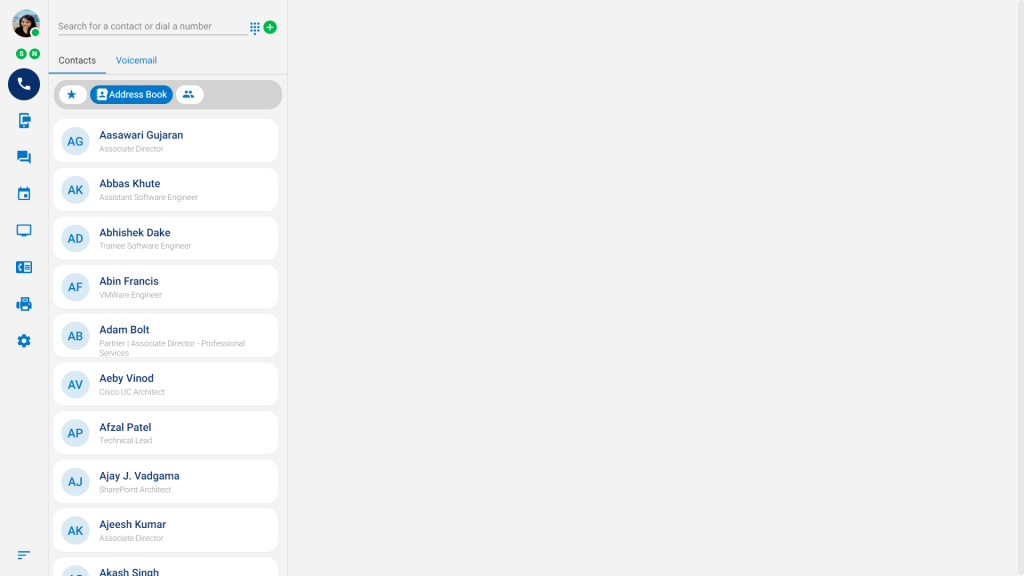
Easily access all Outlook contacts via your nVX user portal. In this article, we will walk you through creating a new contact in Outlook and accessing them through the nVX user portal.
Create an Outlook Contact
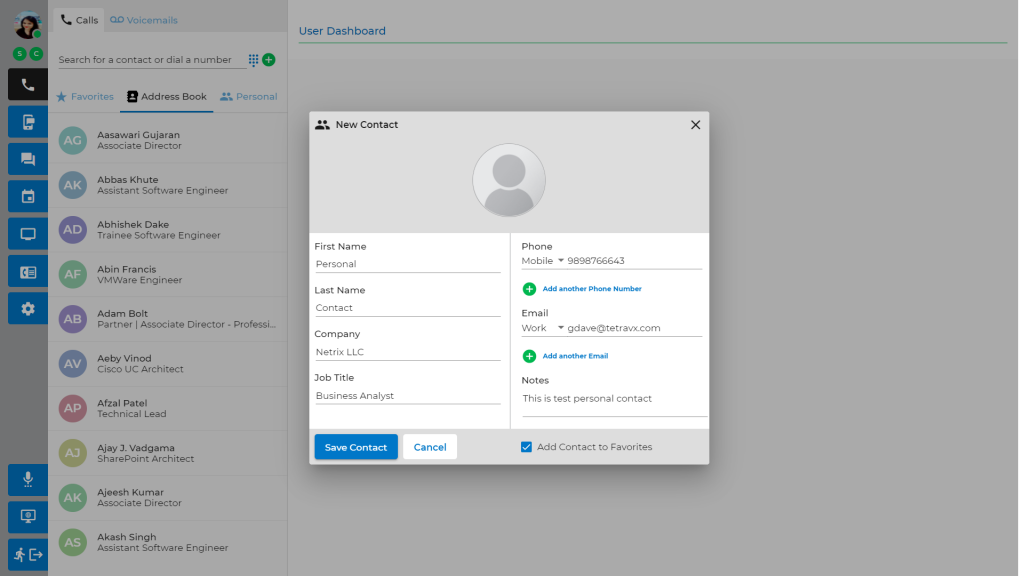
Open your Outlook application. Navigate to the Contacts tab and click the ‘New Contact’ button. Complete the required details for the contact and click Save & Close button.
A new contact has now been created in your Outlook directory. This Outlook Contact Directory is synced with nVX, enabling you to see this new Contact under the Contacts tab in the nVX user portal.
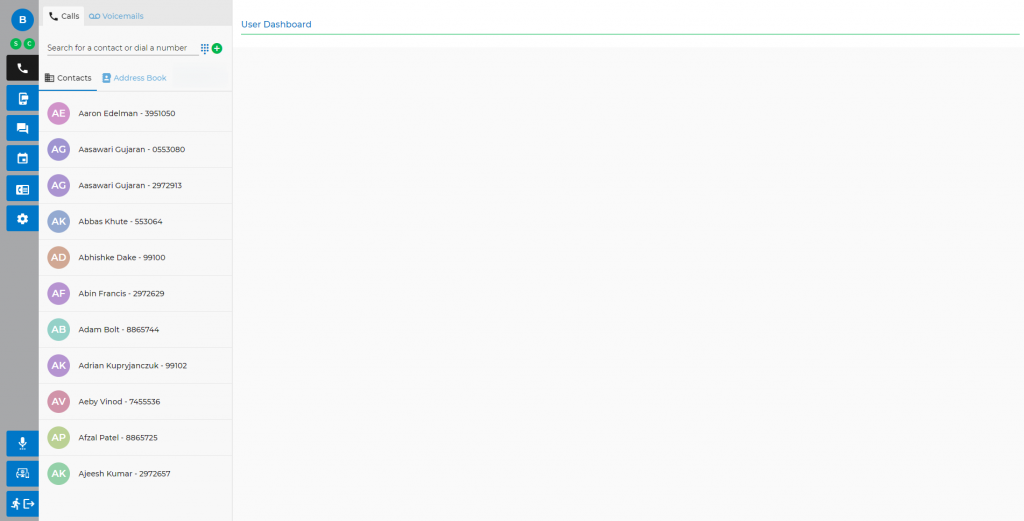
Viewing Outlook Contacts in nVX
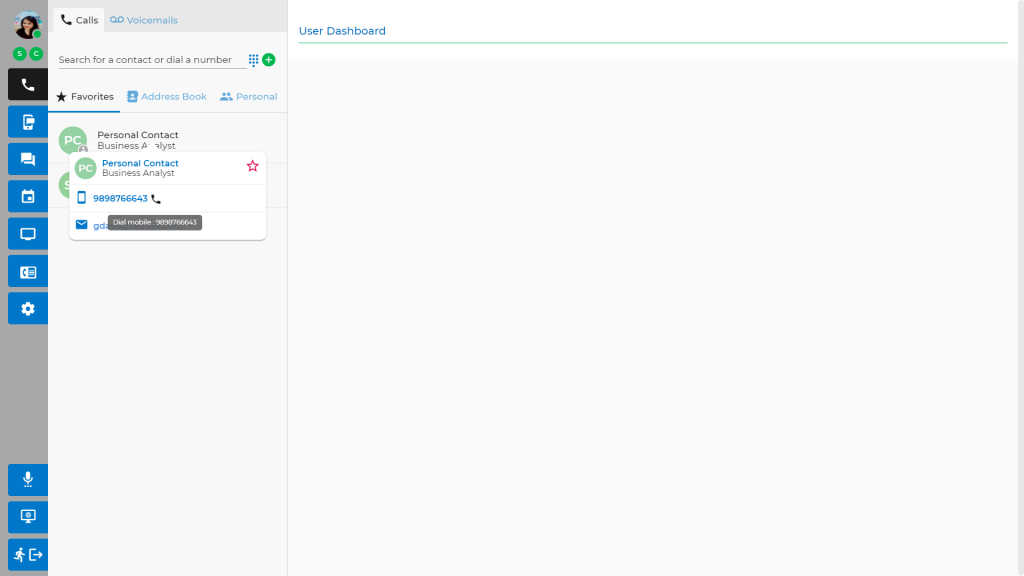
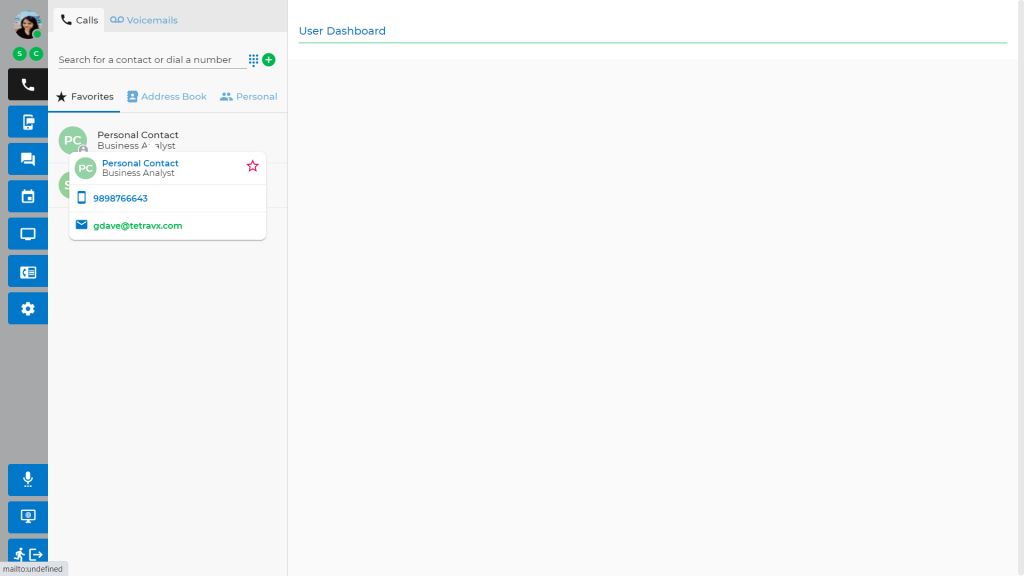
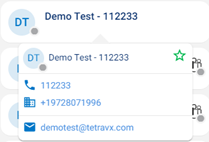
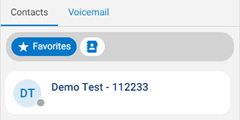
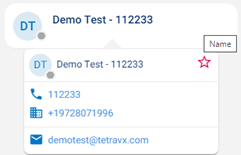
Open the nVX user portal. Navigate to the ‘Address Book’ tab to see a full list of Outlook contacts, or use the search bar to find a specific contact.
Guest users, also known as external users, are non-registered nVX users. Non-registered users of nVX are given a default set of permissions and privileges.
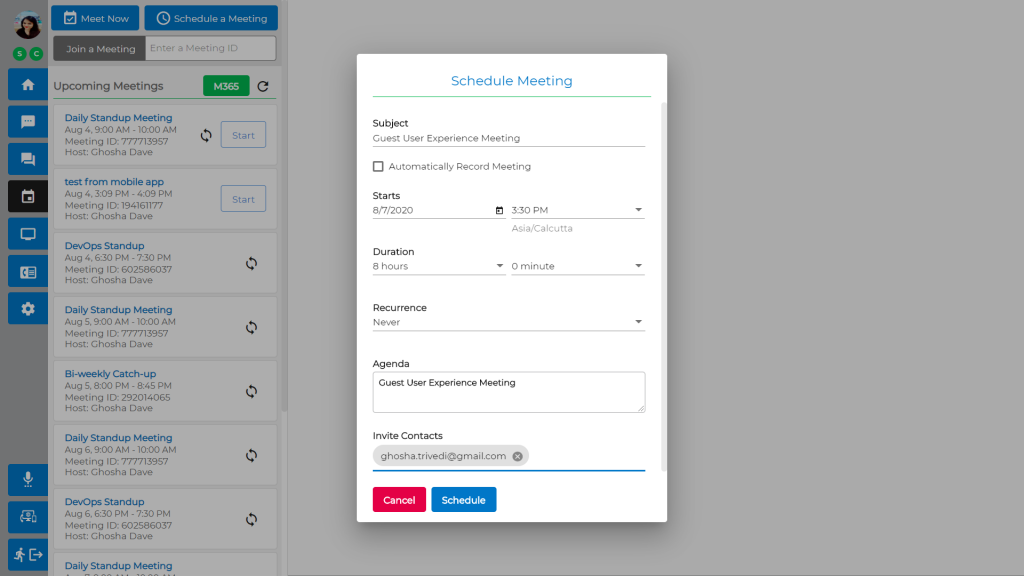
A meeting host can invite guest user(s) to the meeting while scheduling it in the User Portal.
Click on Schedule Meeting from the User Portal
Enter the meeting details and contacts to be invited
Enter the guest user’s email address and press the Tab key. Note: Make sure to use the Tab key after entering the guest email address otherwise the guest will not receive the meeting invitation.
If a meeting has already been started, a host or participant can invite a guest user immediately using the invite button.
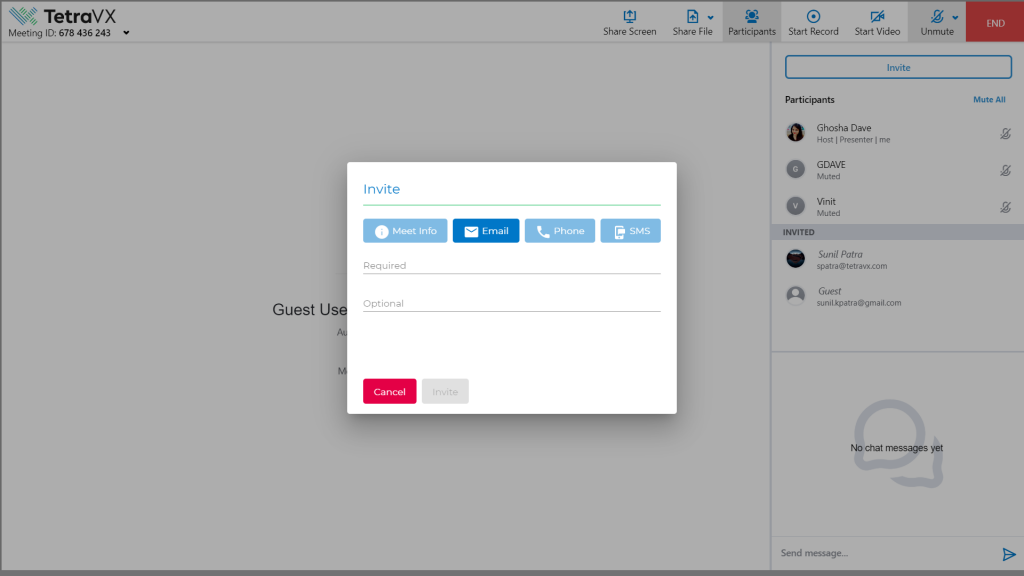
Invite via Email
Enter the guest users’ email address and press the tab key. Click the Invite button to send the email invitation. Click the Cancel button to cancel the meeting invite.
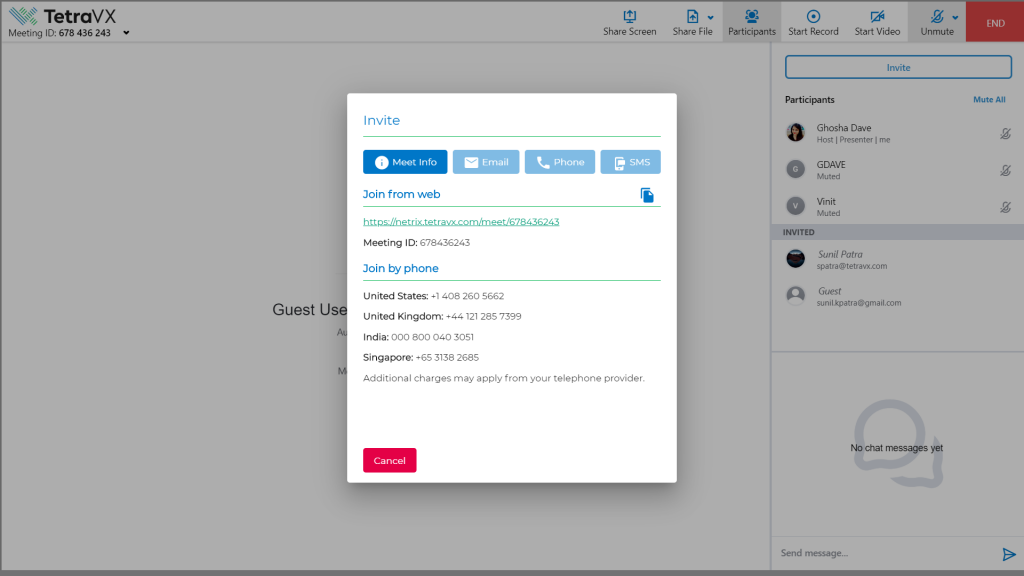
Invite via Meeting Info
Guests can be invited by sending the meeting details. Click on Copy button and paste to users. They can join meeting via suitable method:
Meeting URL – Click on meeting URL to directly enter Meeting (Registered users and Guest users)
Meeting ID – Open User Portal and enter Meeting ID to join the meeting (Registered users only)
Join via Phone – Dial in any of the suitable number and follow the instructions.
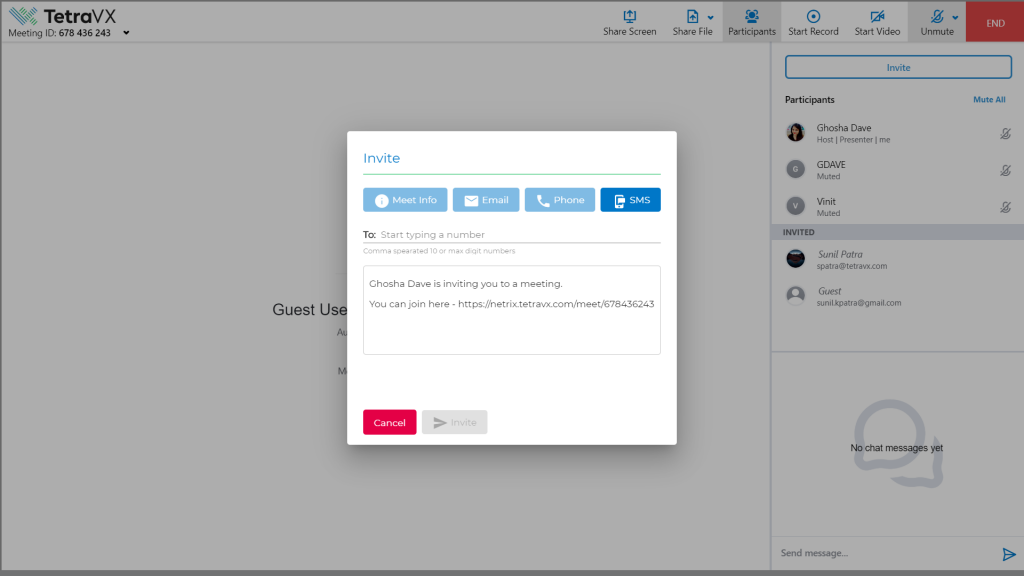
Invite via SMS
Click on SMS tab and enter a 10-digit mobile number to send meeting URL via SMS.
A meeting host can invite guest user(s) to a meeting while scheduling the meeting through the nVX Mobile Apps. Hosts can also add guest users to live meeting via the Mobile App following the same format as the User Portal.
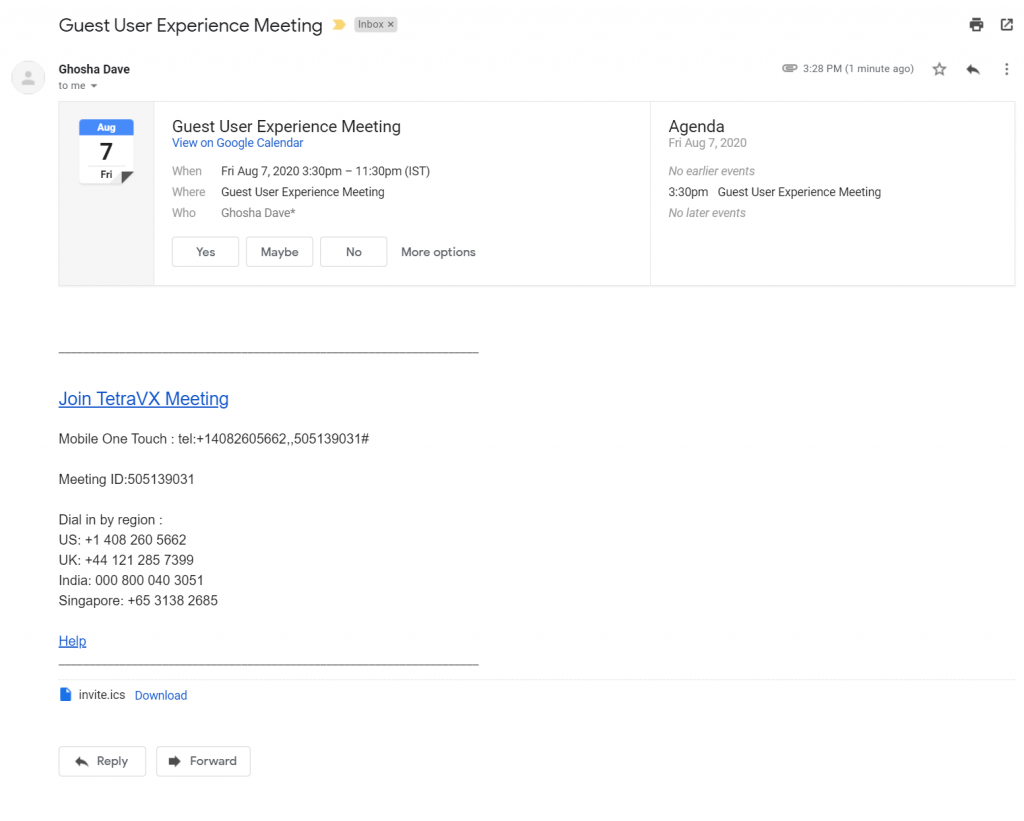
External users will receive an email with following details in the email body when invited by a meeting Host. Guest user(s) can select the suitable method to join the meeting; Dial in or click the link to join in a single click via nVX User Portal.
Logging in as a Guest
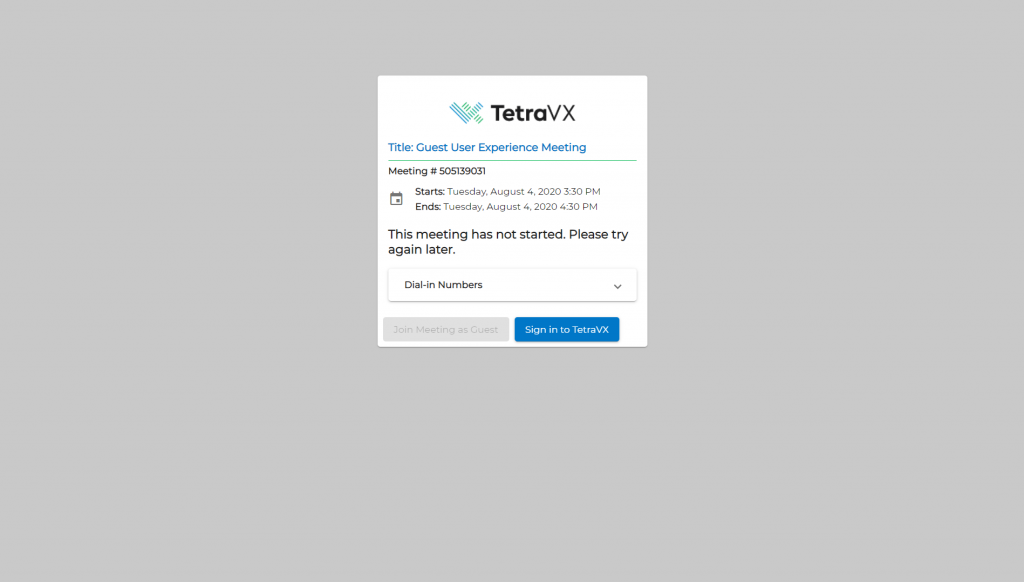
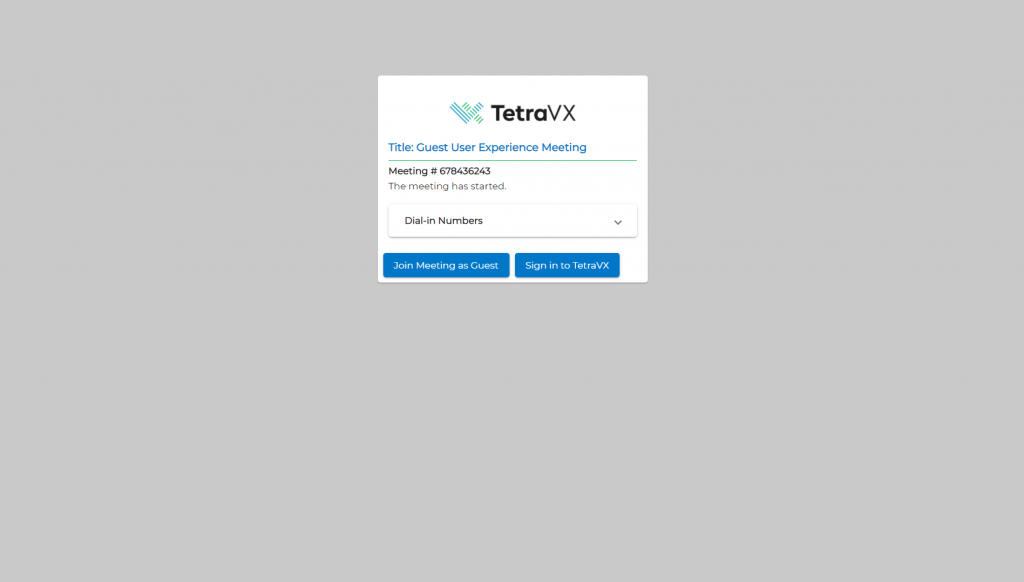
Upon joining a meeting, the guest user will be asked to login. Because the user is unregistered, they must select Join Meeting as Guest. If the meeting host has not started the meeting yet, the Join Meeting as Guest button will not be selectable.
Guest join view if meeting has not begun.Guest join view if meeting has started.
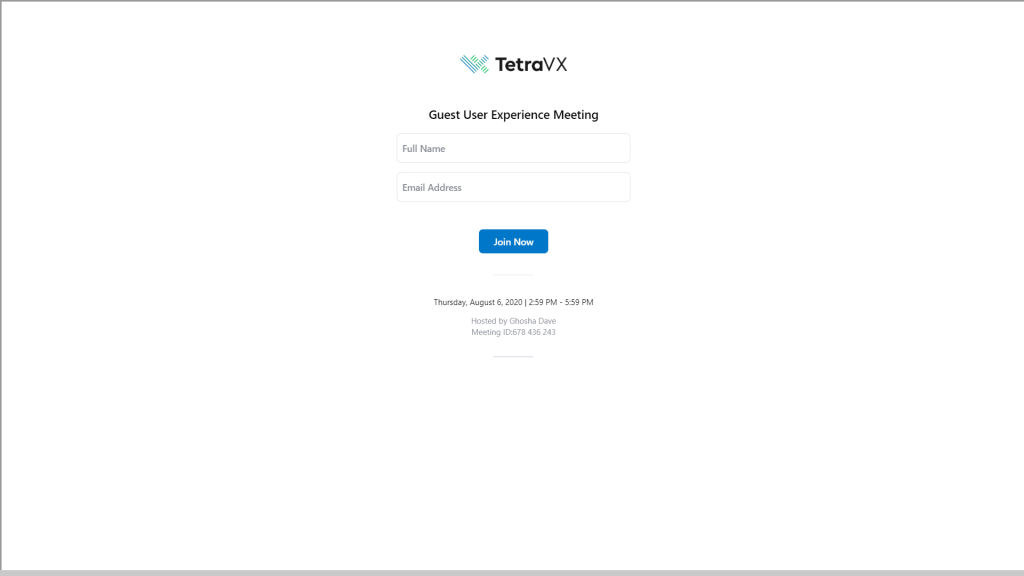
Guest users will then be prompted with a splash page asking them to enter their name and email address. Once both are entered, click the Join Now button to join the meeting.
After logging in successfully, guest users will be directed to the live meeting.
Feature Limitation for Guest users
Guest cannot start a meeting
Guest users are not allowed to start a meeting. They can enter meeting only if meeting is started by Host or any other participant. If meeting is not started, guest user login will not be available.
Guest cannot invite others
Guest users are not allowed to invite other participants. They will get following popup.
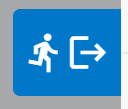
To logout of the nVX User Portal, click the logout icon at the bottom left of the navigation panel.
Note: When logged out of the nVX User Portal, users will no longer receive inbound calls to their nVX Websip phone. All phone calls will be sent directly to voicemail if another endpoint is not selected.
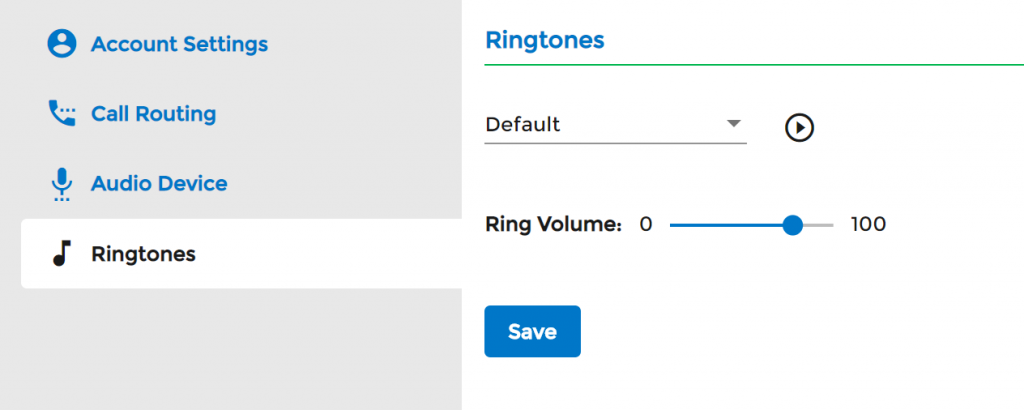
To view Ringtone Settings, first select the Settings tab on the left navigation. You will see four options. Select, Ringtones. This is where users can manage their ringtone and ring volume. Be sure to click the Save button at the bottom of the page after making any updates
Ringtone: In the dropdown, select the preferred ringtone. Press the play icon, to hear the tone before selecting it.
Ring Volume: Adjust the Ring Volume by sliding the blue dot.