This article will walk you through how to download and configure the WebRTC Network limiter Chrome Plugin.
The WebRTC network limiter extension is only needed if a delay issue occurs when answering inbound calls.
To download and install:
Step 1
Visit the below URL using a Google Chrome browser window.
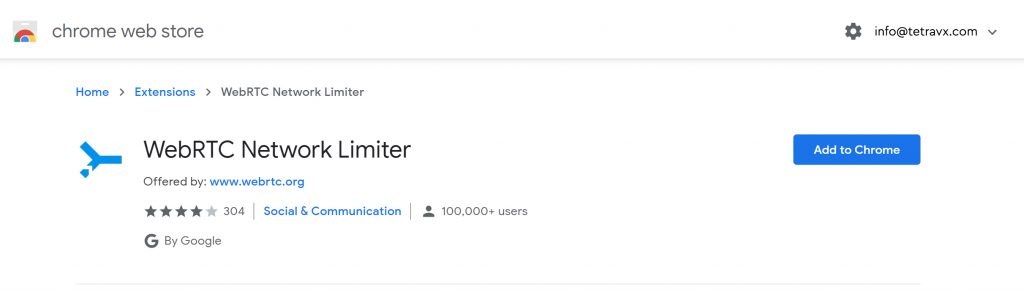
Step 2
Click the ‘Add to Chrome’ button ![]()
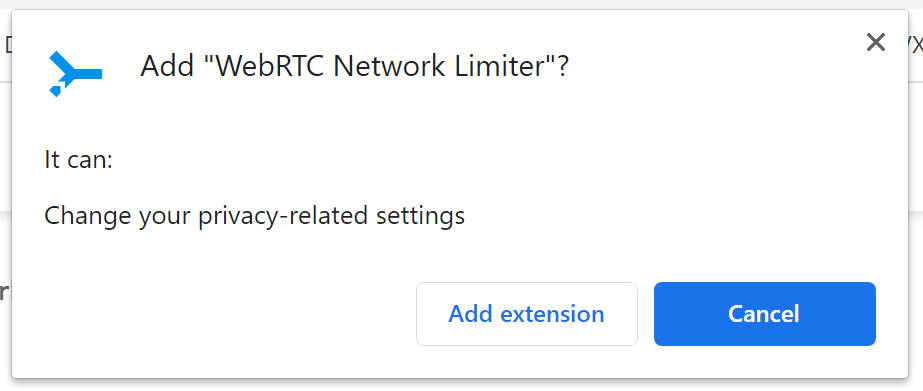
Step 3
In the pop-up, click the ‘Add Extension’ button.
Step 4
Go to the ‘Settings’ page of your Google Chrome browser.
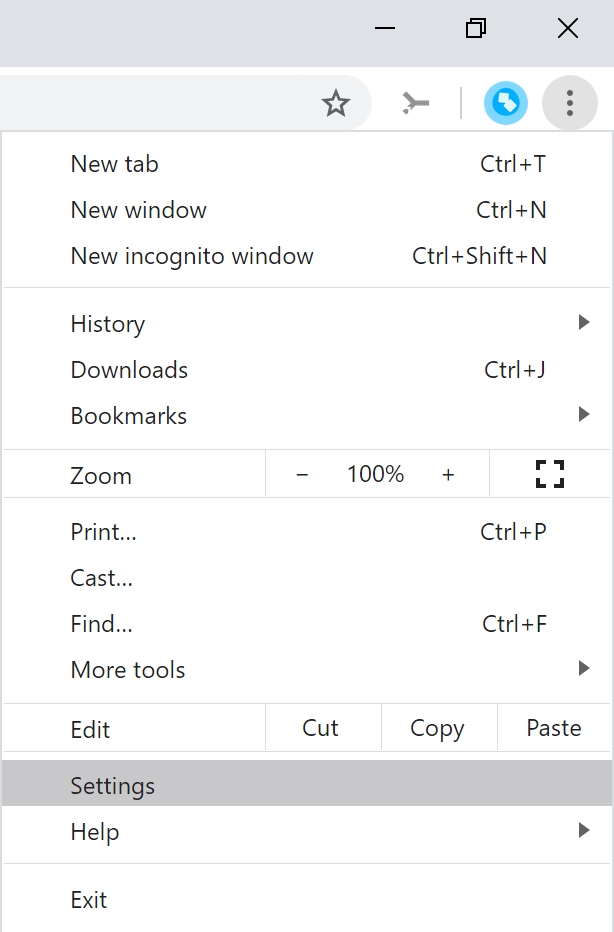
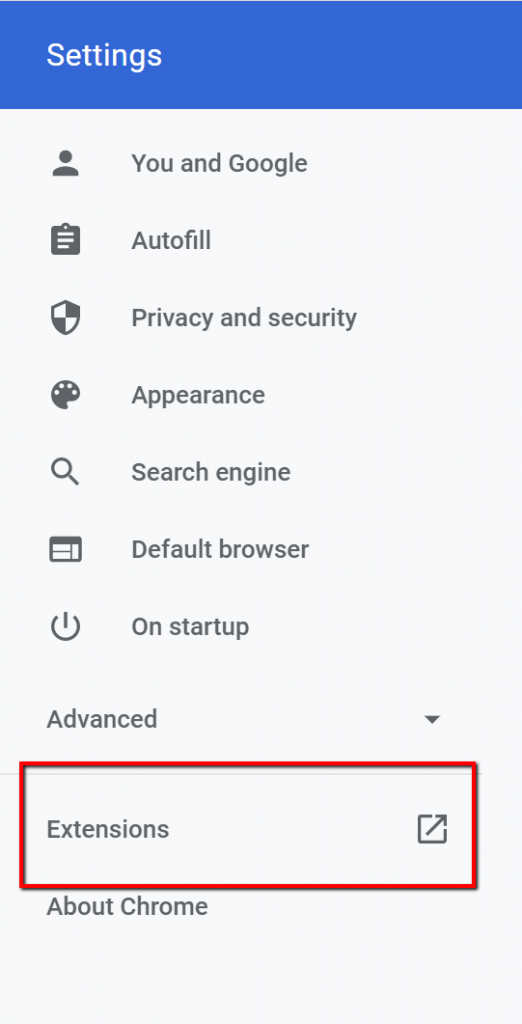
Step 5
In the left column, click on ‘Extensions’
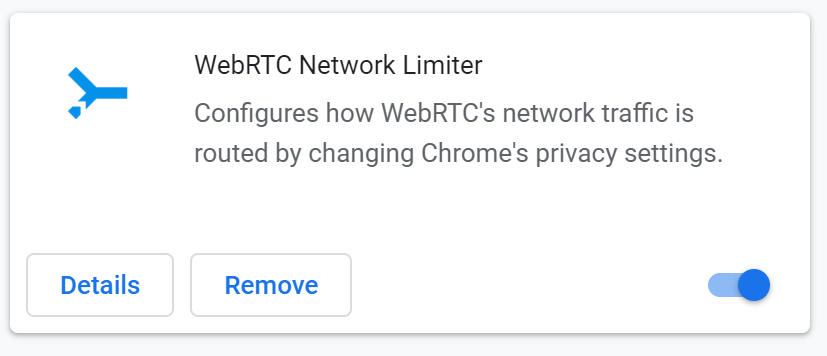
Step 6
Click on the ‘Details’ button for the WebRTC Network Limiter.
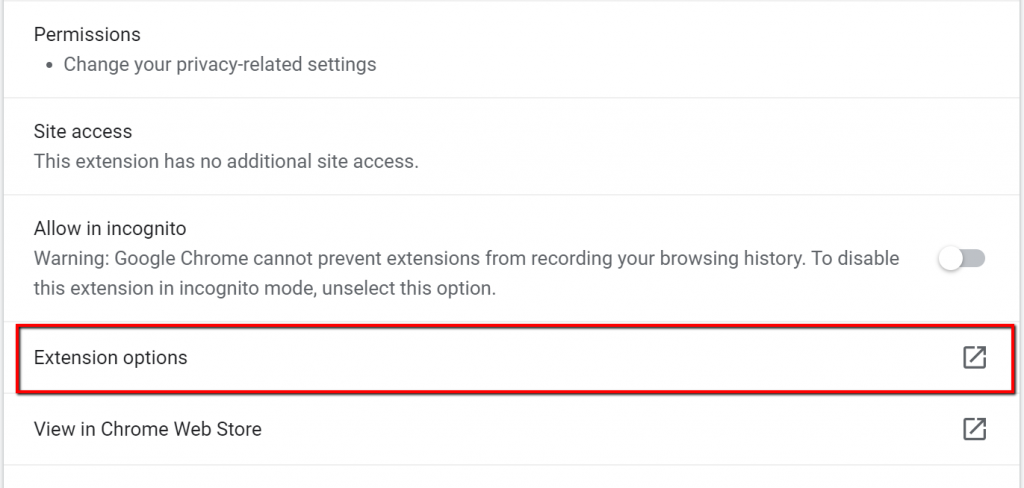
Step 7
Click on ‘Extension Options’. Note, you may need to scroll towards the bottom of the page to view this option.
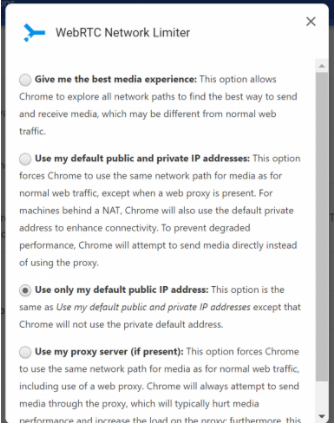
Step 8
Select ‘Use only my default public IP address:’.
Step 9
Closeout the ‘Pop Up’ and ‘Settings’ tabs. Exit Google Chrome and re-open a new Google Chrome browser window.